I remain on the summermood train !! And while on board, I decided that all following posts will be about summer !! Colors, sea, nights in outdoors etc.
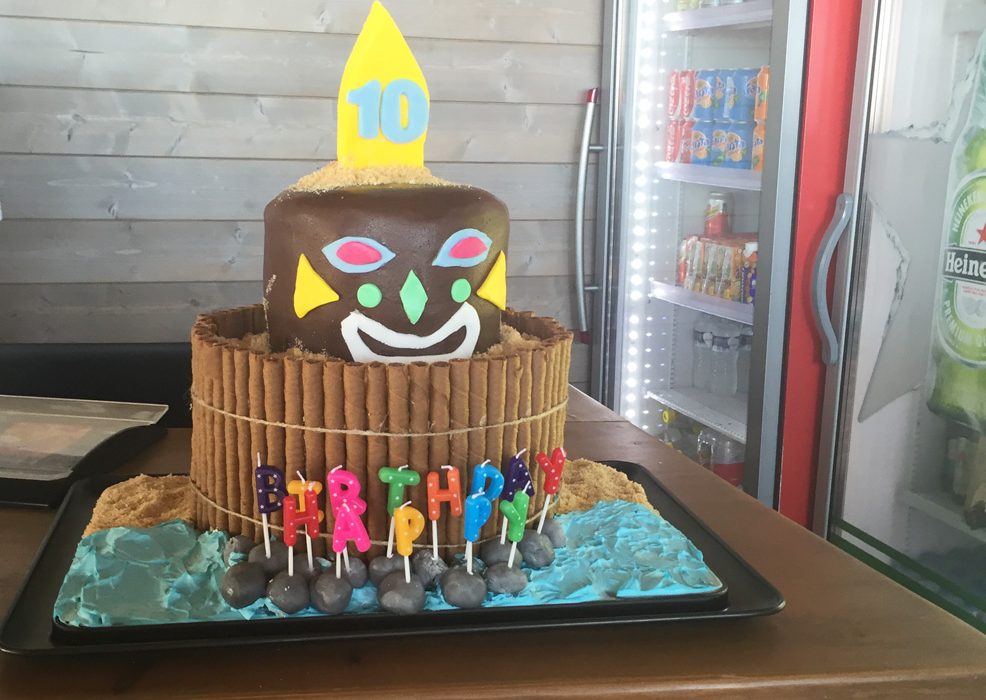
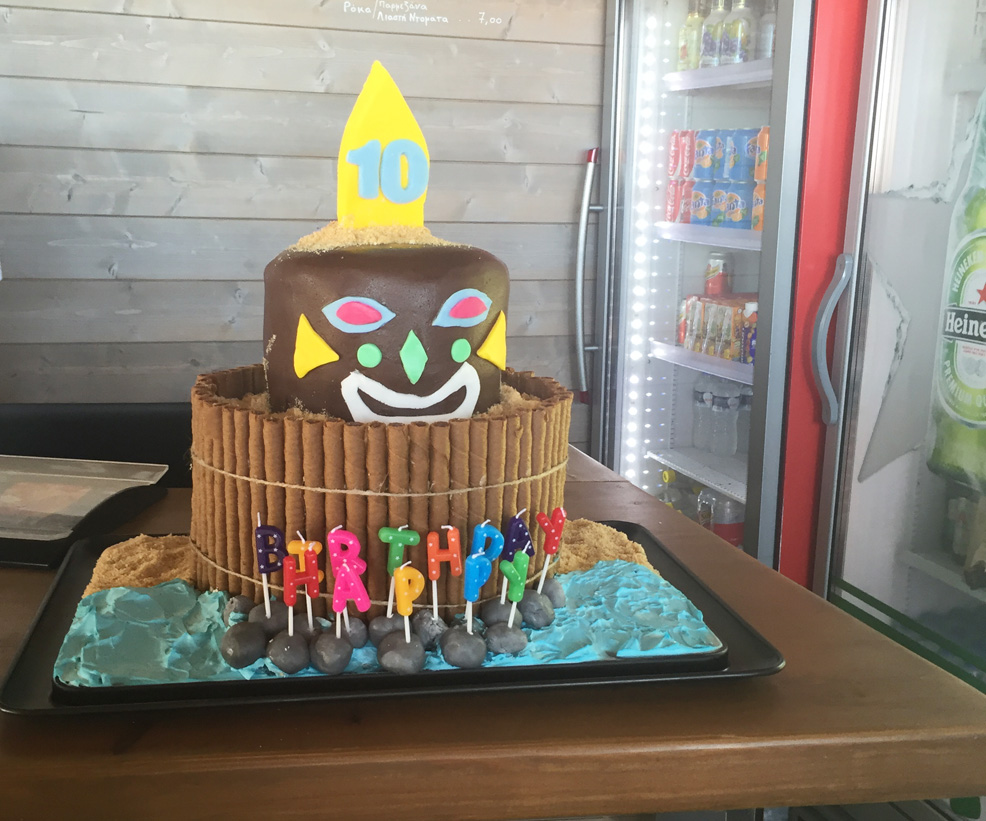
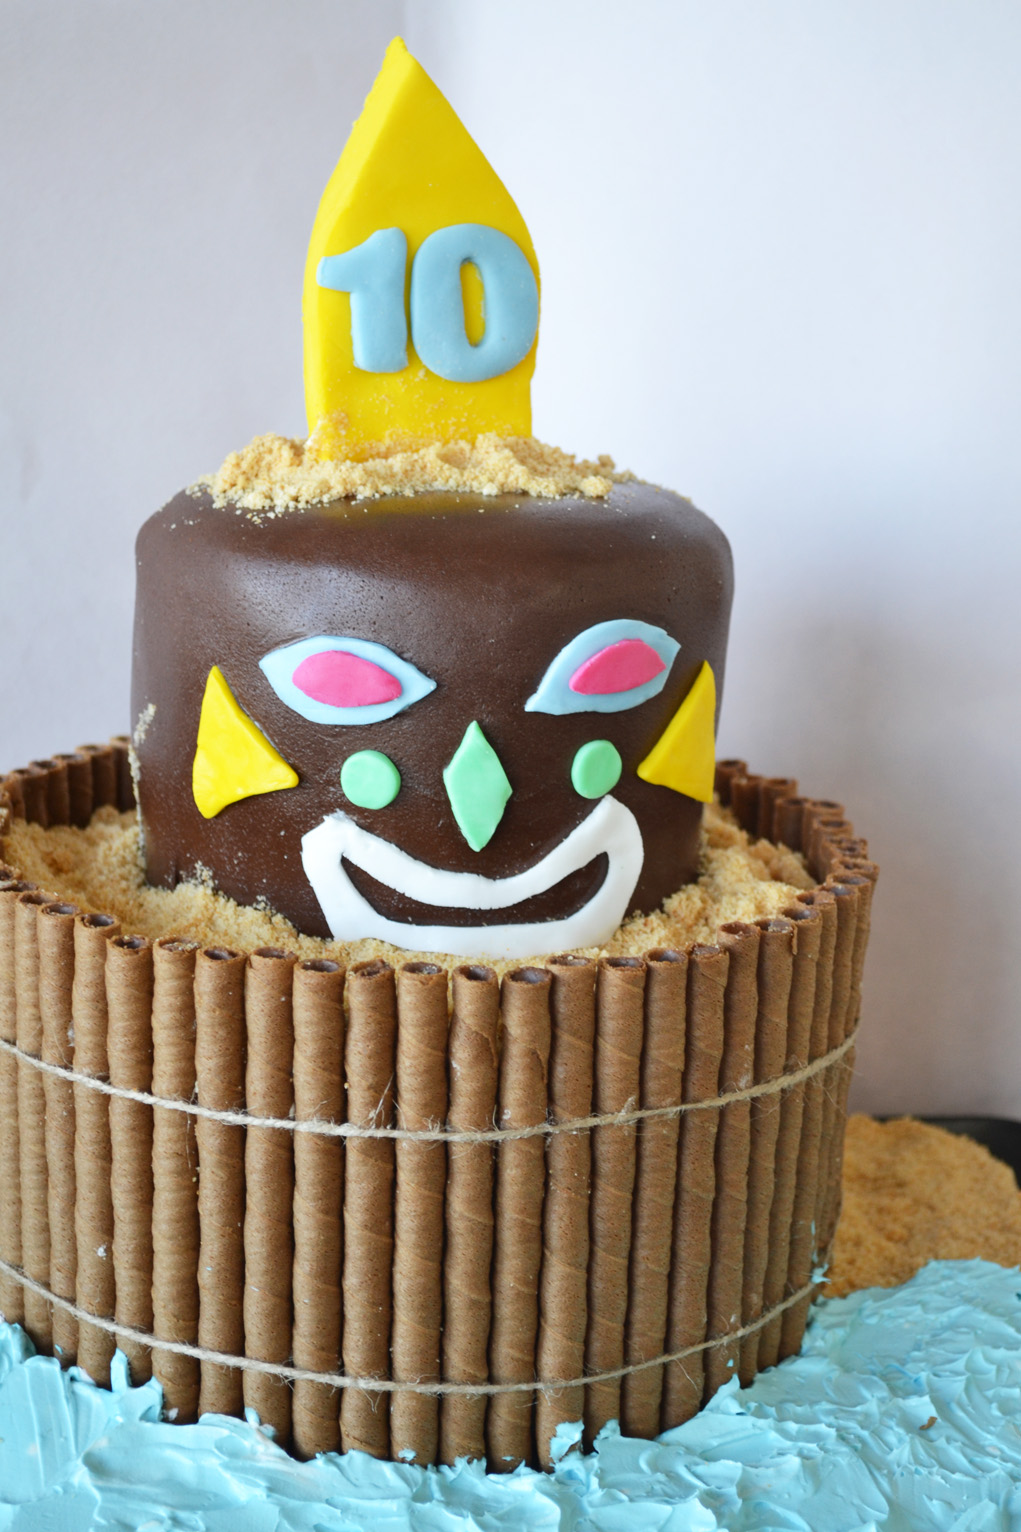
One of my colorful makings is the cake I baked for my nethew Konstantinos for his 10th birthday party ( the age maximum according to Penelope ” When I am going to grow up and be 10?” “my mum is 10 years old” etc). And my birthday boy wanted to celebrate at the beach. And he asked for a much simpler cake I must admit thinking this one was too complicated for me to pull off.
So I managed to make the cake my little boy wanted. And his smile was a little wider. And Alexis (my grandson and Konstantino’s brother ) made sure that all of the people of the beach knew that I was the one who made the cake! There is no better feeling than making your loved ones happy with something you baked with your own hands, don’t you agree?
In the process I discovered the fluffier sponge cake e v e r. The ingredients are quite simple and low cost. Also I discovered a super yummy chocolate mousse. My joy just tripled.
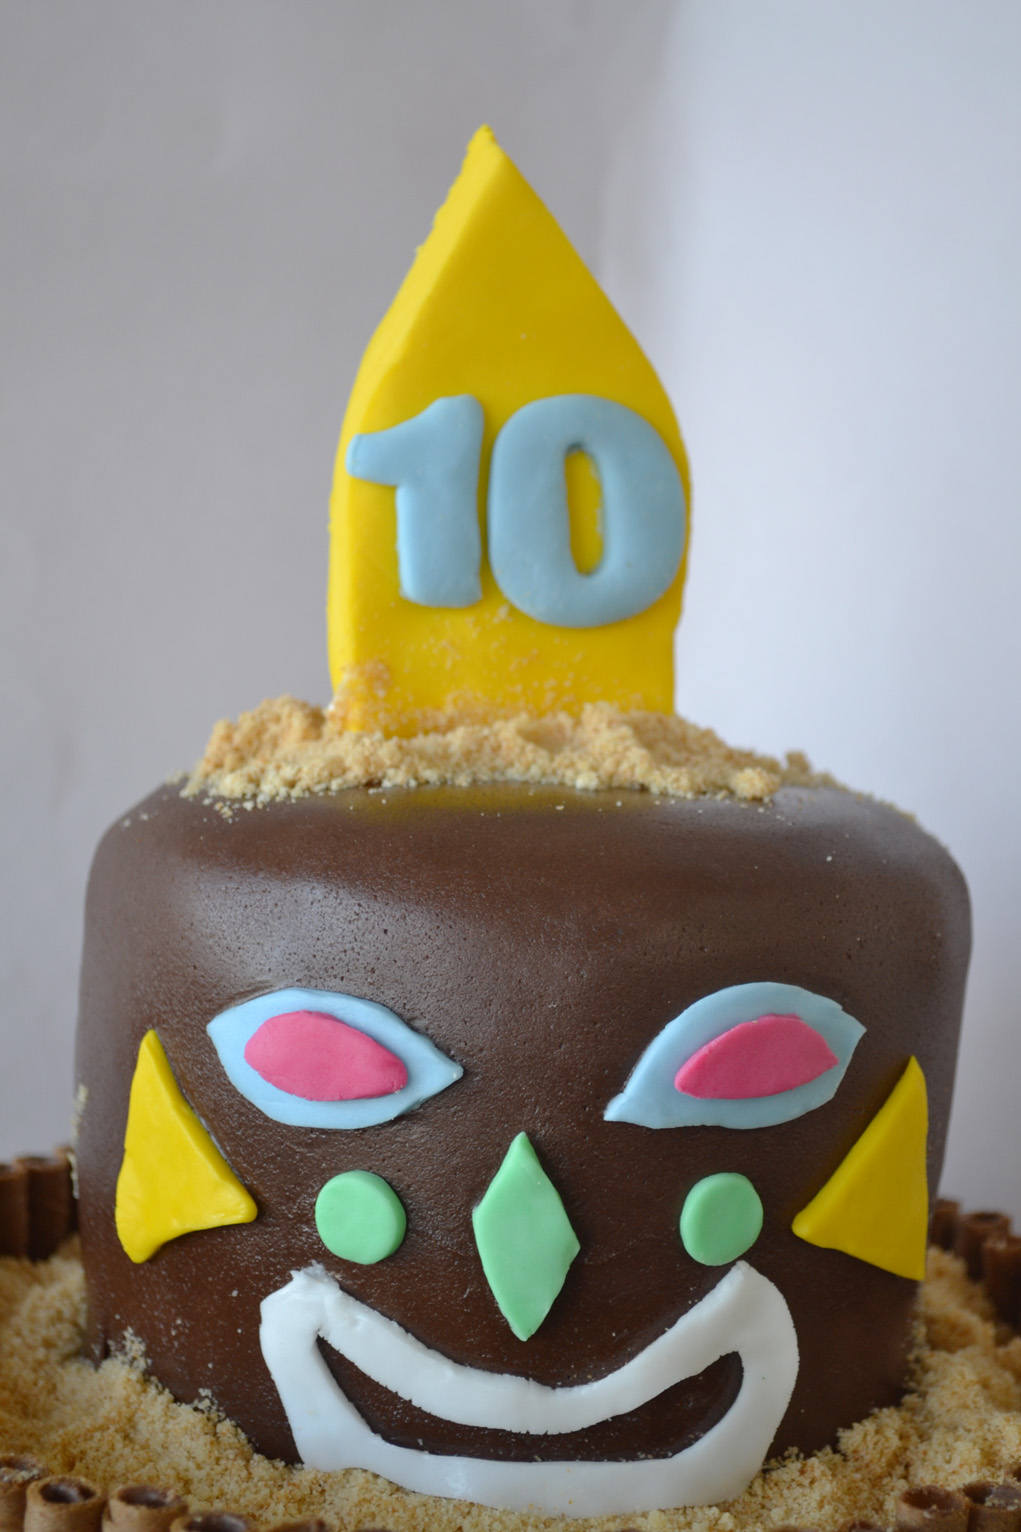
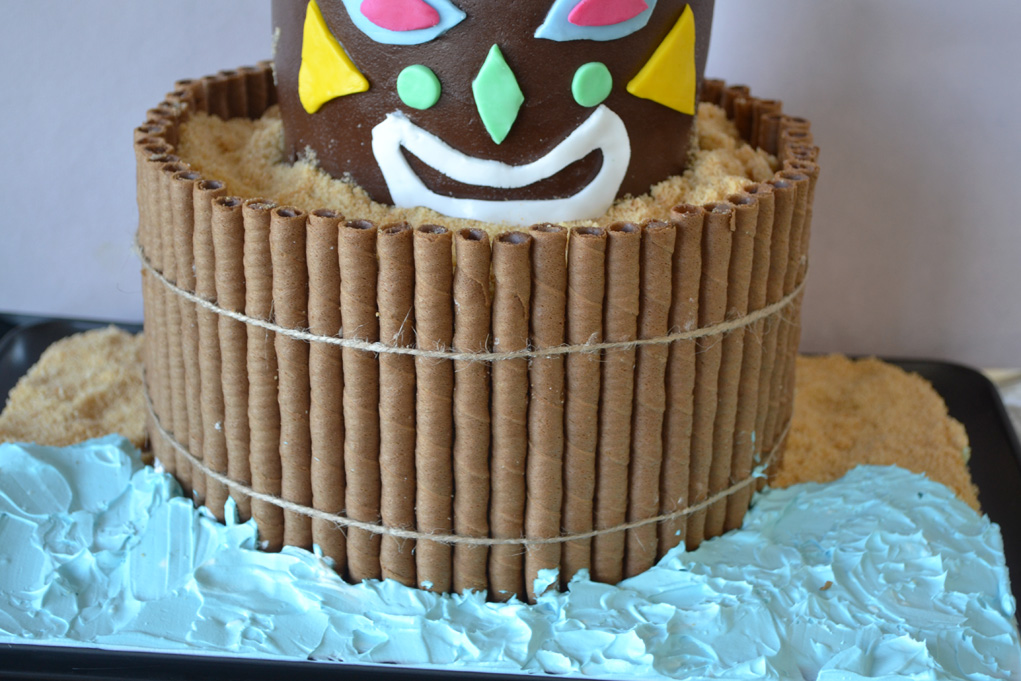
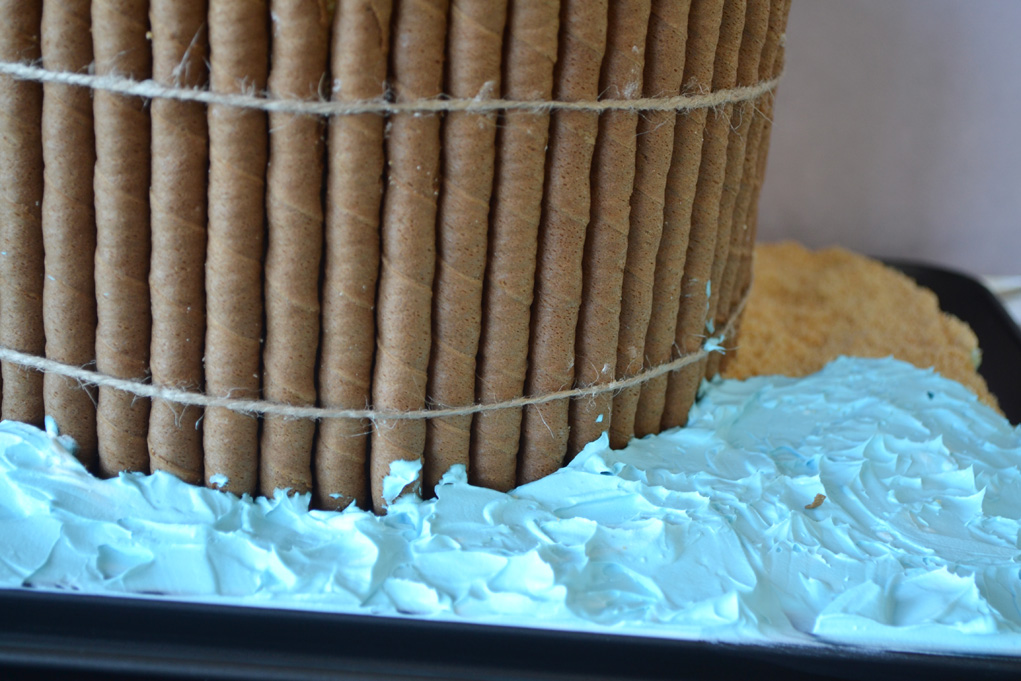
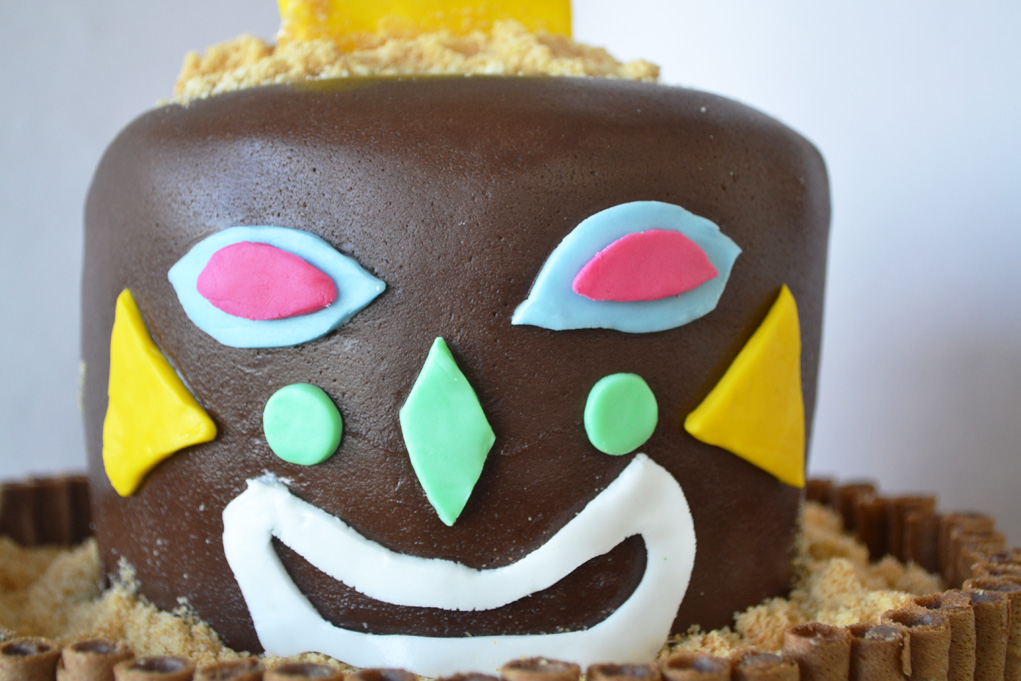
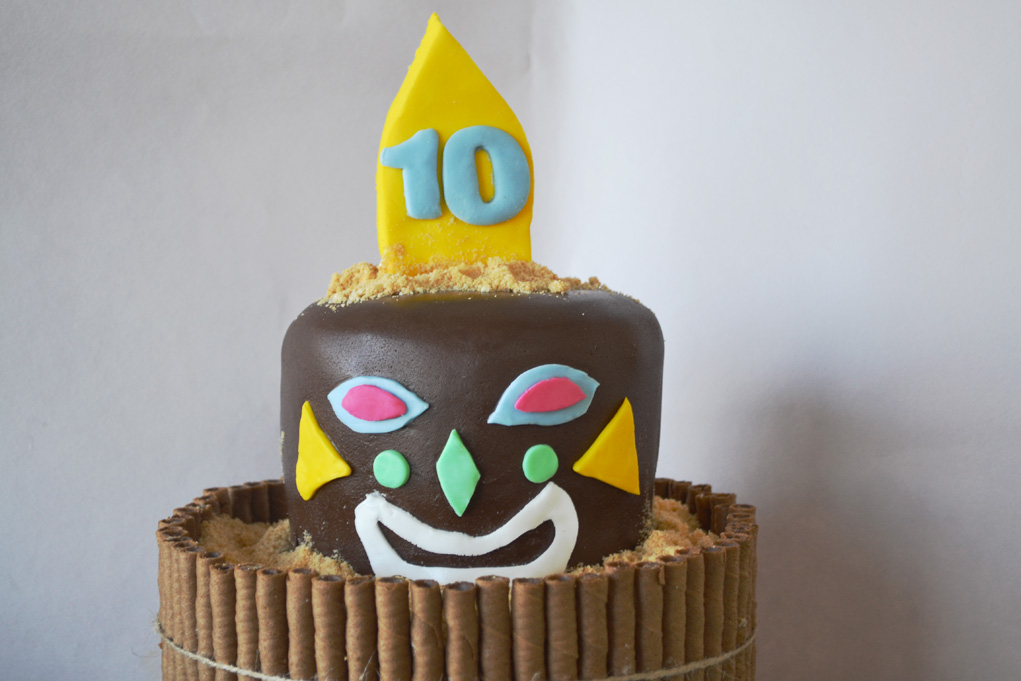
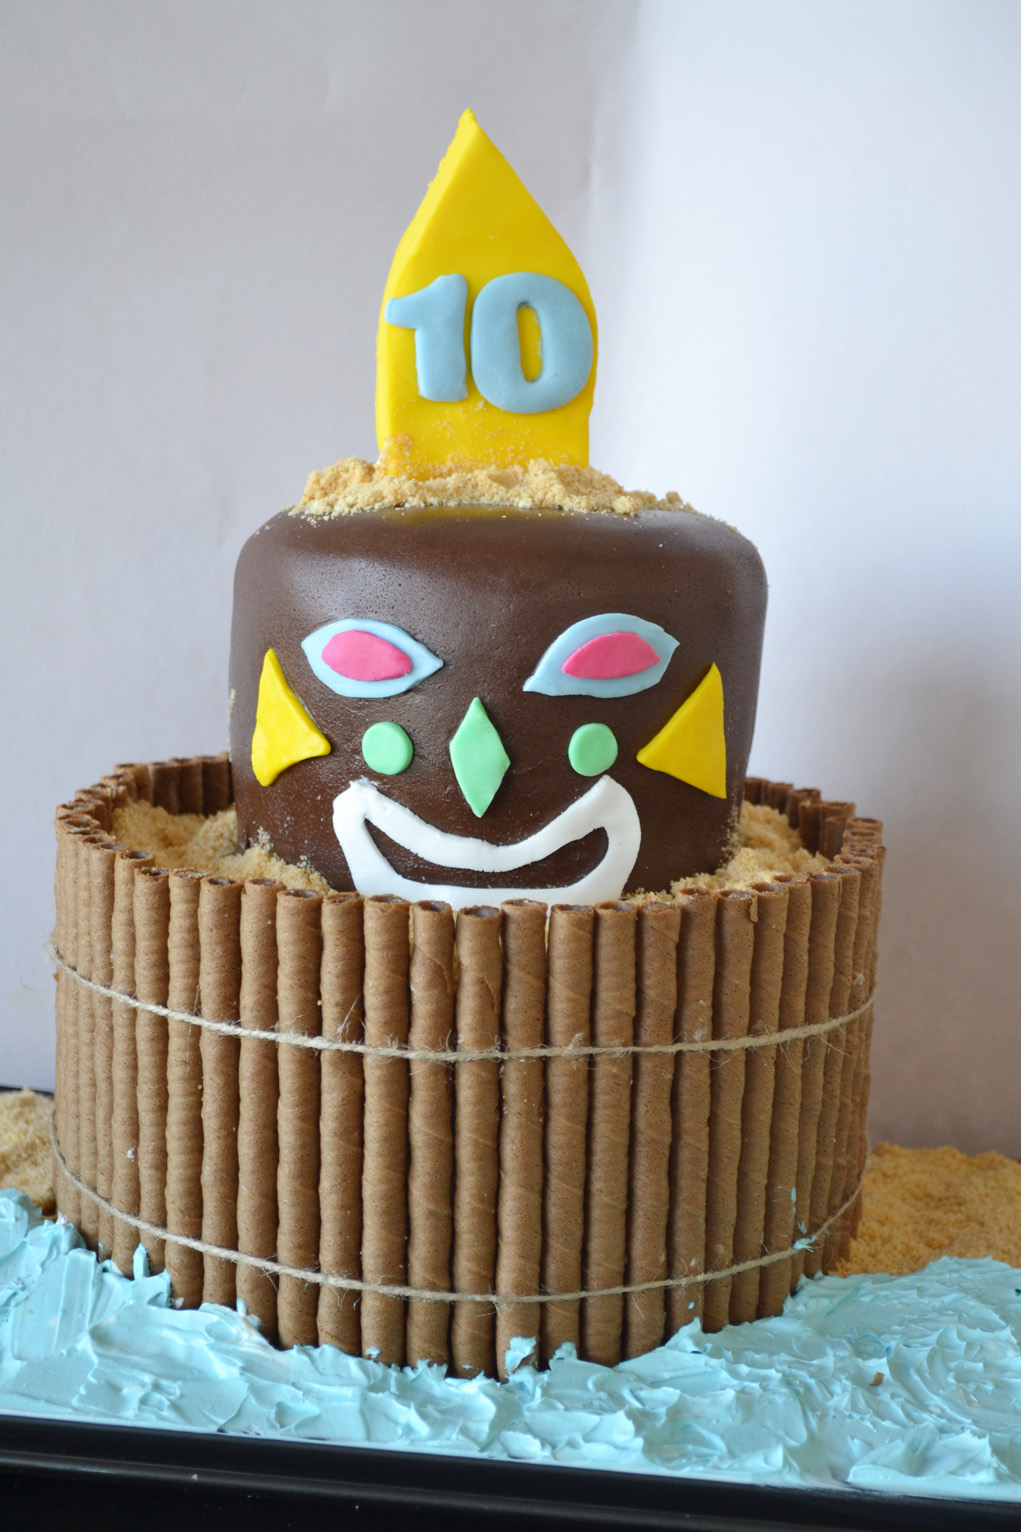
For this luau cake (luau means party in Hawaiian) I had to bake 2 and a half doses of the recipe below and one dose of the chocolate mousse recipe. For decorating the cake I used two packs of these wafers (they are more than enough), 750gr of chocolate sugar paste, 50gr yellow sugar paste and 50gr white sugar paste which I colored green, fuchsia and light blue with food colors. For the sand effect I used the left over of the cake I cut on the edges which I made crumbs with the food processor. The sea effect was whipped cream colored light blue. The rocks were made from 100gr grey sugar paste. The totem I made was spotted in Pinterest (this is the cake inspiration for me ). For making the features equal I used the first one as a guide to make the other one. The sugar paste decorations were glued on the main cake using a small amount of water. The surf board was made with sugar paste and cms powder and stood on the top with two toothpicks. I allowed 24 hours before using the surf board. On the bottom layer of the cake I covered it with whipped cream and glued on the wafers and tight them together with some twine in two places. The cake stood in a rectangular cake mould. In half of the mould the sand was spread and the sea whipped cream in the other half. With a knife I made some waves. At this point I have to thank Yiannis for the valuable help. I was making two cakes at the same time that day so without his help it would be impossible. With me my husband has become a sugar art expert!
So let’s check out the recipes for the sponge cake and the chocolate mousse. It is really not as hard as it looks and you can pull it off yourself! Just go for it!

Yield: 2 pans 23cm diameter
- 2½ cups (300gr) cake flour (self arising).
- 2 cups (434gr) white sugar.
- 4 eggs (203gr net weight) in room temperature.
- 1 cup (134gr) milk
- ¾ cup (100gr) vegetable oil
- 1 ts vanilla extract
- Preheat the oven at 180 degrees Celsius.
- Beat the eggs with the sugar in full speed in the mixer for 1 minute.
- Add gradually all remaining ingredients and beat just to get all ingredients mixed. Don't overdo it with the mixing.
- Grease 2 pans 23cm diameters and pour in the mixture.
- Bake of 30 to 40 minutes until the knife gets clean from the center of the cake.
- Let the cakes cool for 15 minutes and then take them of the pans and cool completely on a rack.

- 7gr powdered gelatine.
- 340gr cooking chocolate in small pieces.
- 2½ cups heavy cream (full fat).
- Pour the gelatine in some water and leave it aside.
- In a large bowl place some ice and also leave it aside.
- Crush the chocolate in the food processor.
- In a small pot pour ¾ of the cream and cook until boiling point. Lower the temperature, add the gelatine and stair until it is fully dissolved.
- Add the cream mixture to the food processor white the motor is running until you get an even mixture.
- Empty the mixture in a small bowl and place it over the iced large bawl staring so it gets colder. If the mixture gets lumpy just put it back to the food processor to smooth it out.
- Beat the rest of the cream until you get whipped cream with a hand mixer and add it to the chocolate mixture gently using a silicon spatula.
- Fill in a confectionary bag with the mousse and it's ready to use.
- You can keep the mousse refrigerated in an airtight container.
- Διατηρείται στο ψυγείο σε αεροστεγές τάπερ